
How a facsimile is made
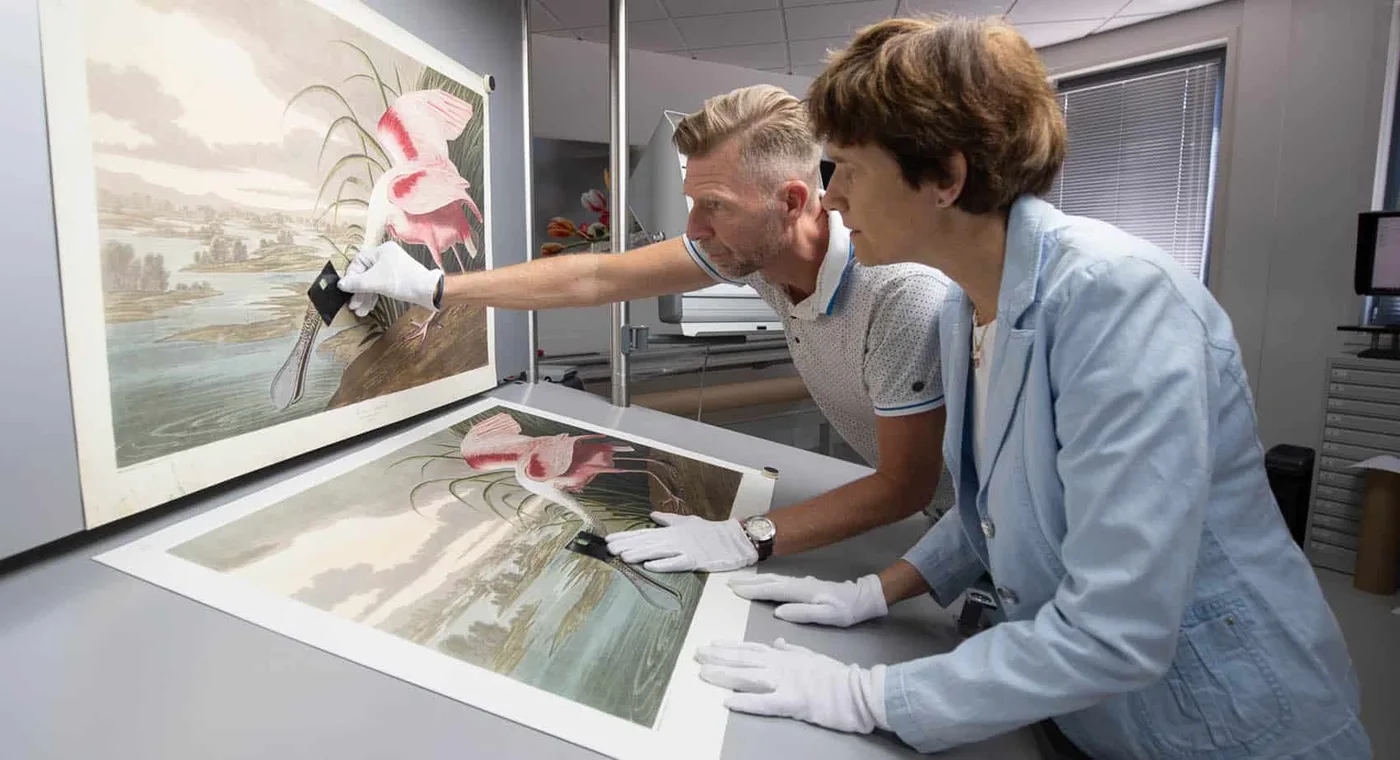
Every print starts with the original plate, in a museum or a private collection. Four steps take it from there to your wall, and every step is checked against the original.
Every print is made for us by Re-Art Special Art Productions in Almere: fine art printers for 25 years, known worldwide, and our partner since 2005.
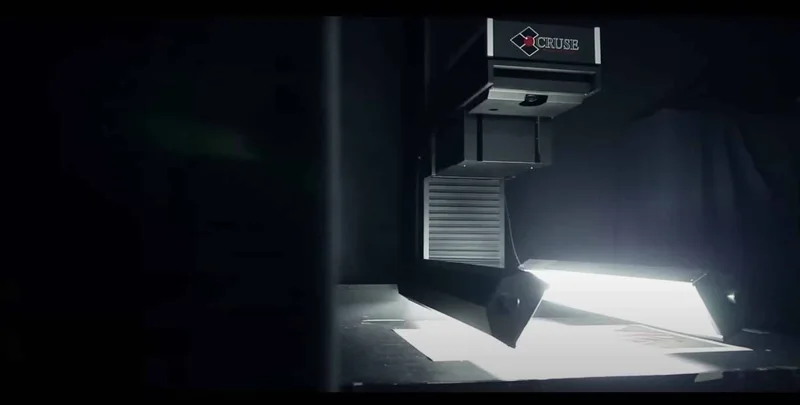
Step 1: Photographing the original
The original is photographed flat under the lens of a Cruse fine art scanner, the camera the large museums use. Every millimetre of the sheet gets exactly the same light, so nothing is lost in the shadows or burnt out in the highlights.
The file is made at the size it will be printed, so not a single pixel has to be invented later.
- Camera
- Cruse fine art scanner
- Resolution
- 308 megapixels
- Time
- 15 to 40 minutes per original
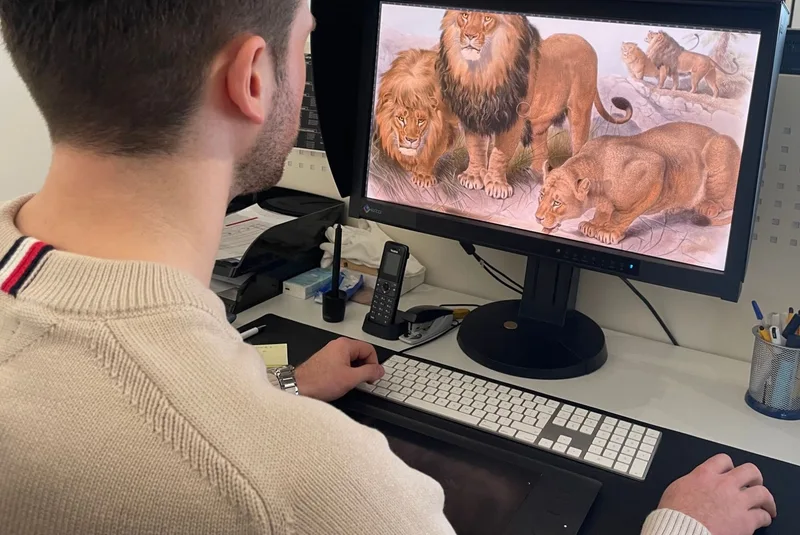
Step 2: Retouching
Even in the best museum collections, two hundred years leave their mark: small brown spots of acid in the paper, a scratch in the stone or the copper plate. They are removed by hand on a calibrated screen, and everything that belongs to the original is kept.
Plates that are bound in a book cannot lie completely flat. Any curve this leaves in the photograph is corrected as well.
- Removed
- acid spots, scratches, the curve of the binding
- Kept
- the paper, the lines and the colours of the original
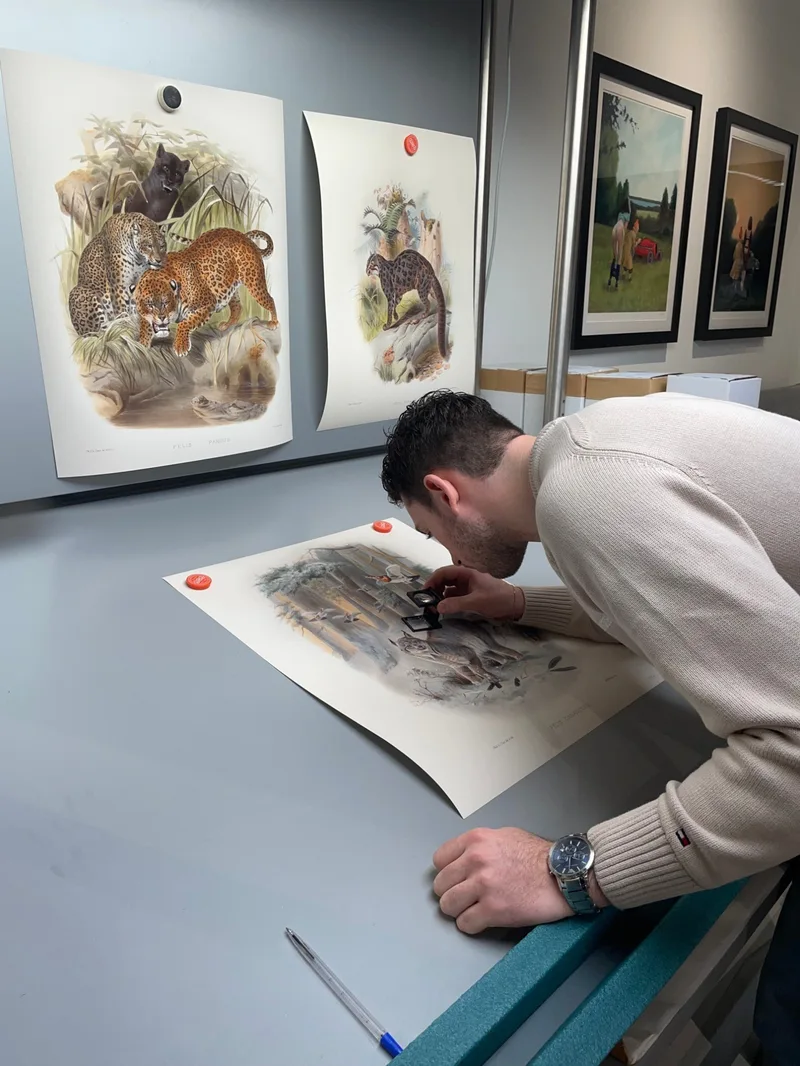
Step 3: Proofing against the original
This is where the eye of the colour lithographer decides. Some pigments in a hand-coloured plate fall outside what a camera can record, or change with the light. Proofs are printed on the paper of the edition and compared with the original under daylight, sheet by sheet, until the colours match.
Every correction is marked on the proof, made in the file, and proofed again. Only then is the master file ready for printing.
- Proofs
- on the printing paper of the edition
- Compared
- with the original, under daylight
- Result
- one master file per plate
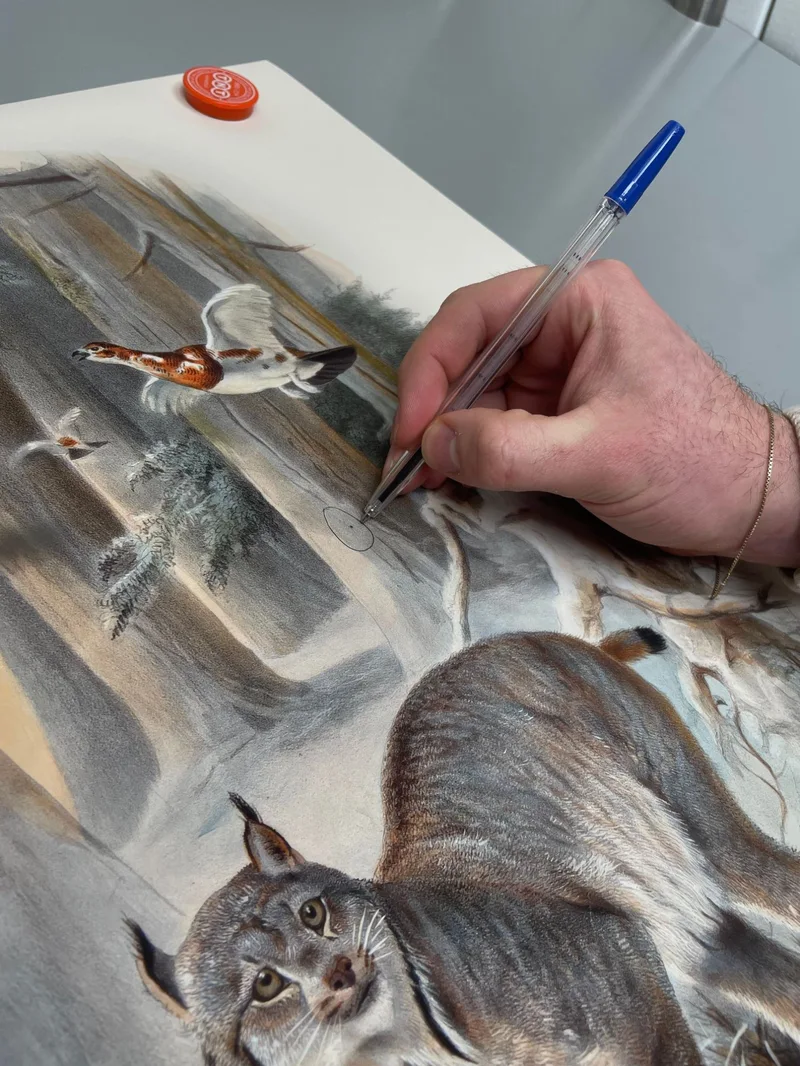
Look as closely as we do
This is the plate on our light table: The Northern Lynx, plate 37 of Daniel Giraud Elliot’s A Monograph of the Felidae. Move the loupe over the sheet to see the fur, the lettering and the texture of the paper.
With a mouse or a finger, drag across the plate. With the keyboard, focus the plate and use the arrow keys.
See this print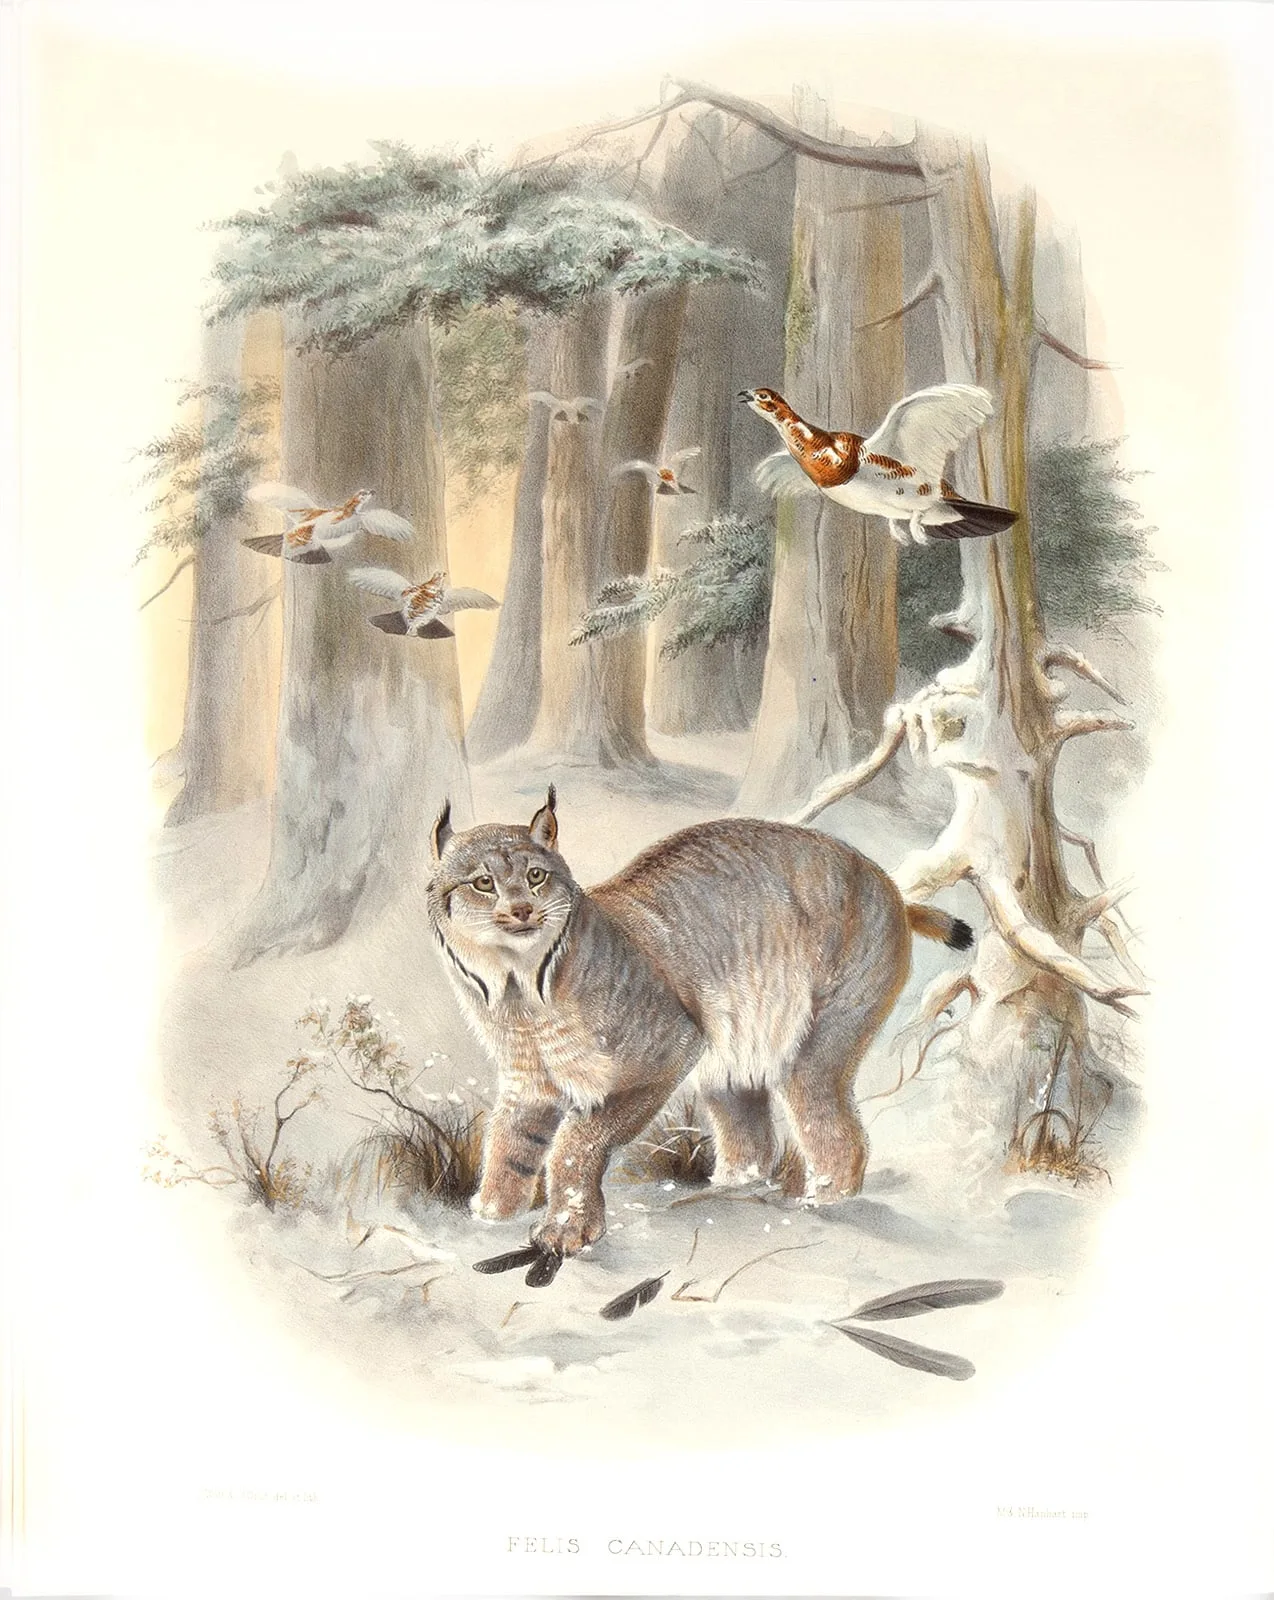
Step 4: Printing and finishing
Re-Art prints on Epson printers, the only technique that places 2,880 drops of ink per inch, with water-based archival inks on acid-free white etching paper. One sheet takes 25 to 45 minutes.
Afterwards every print is checked by hand. Where a paper fibre has lifted, it is touched up with a graphite pencil. Then the print is numbered, embossed with our blind stamp and given its certificate of authenticity.
- Printer
- Epson, 2,880 drops of ink per inch
- Paper
- acid-free white etching paper, 270 g/m²
- Lasts
- more than 100 years under good conditions
- Time
- 25 to 45 minutes per print
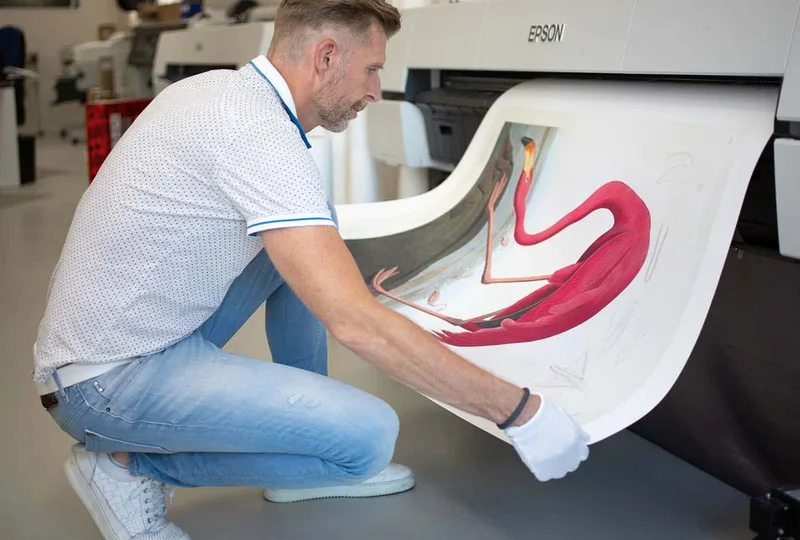
Finished by hand
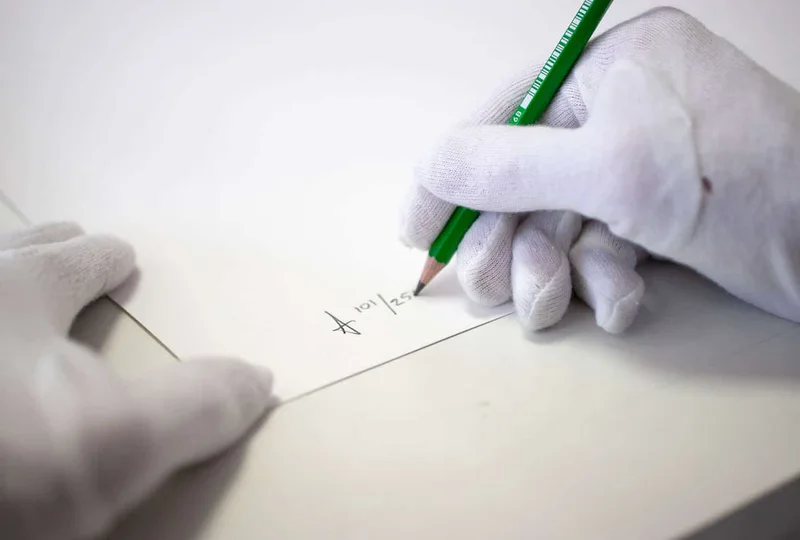
Numbered in pencil, one of 250. 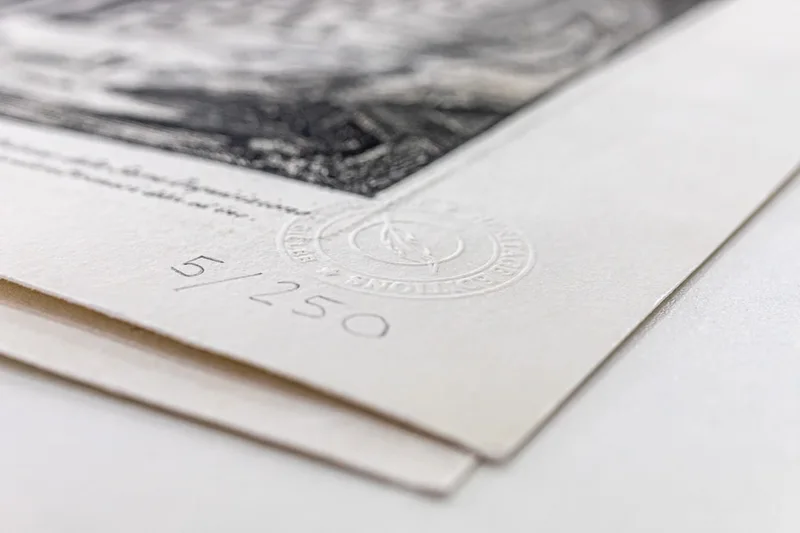
Embossed with our blind stamp. 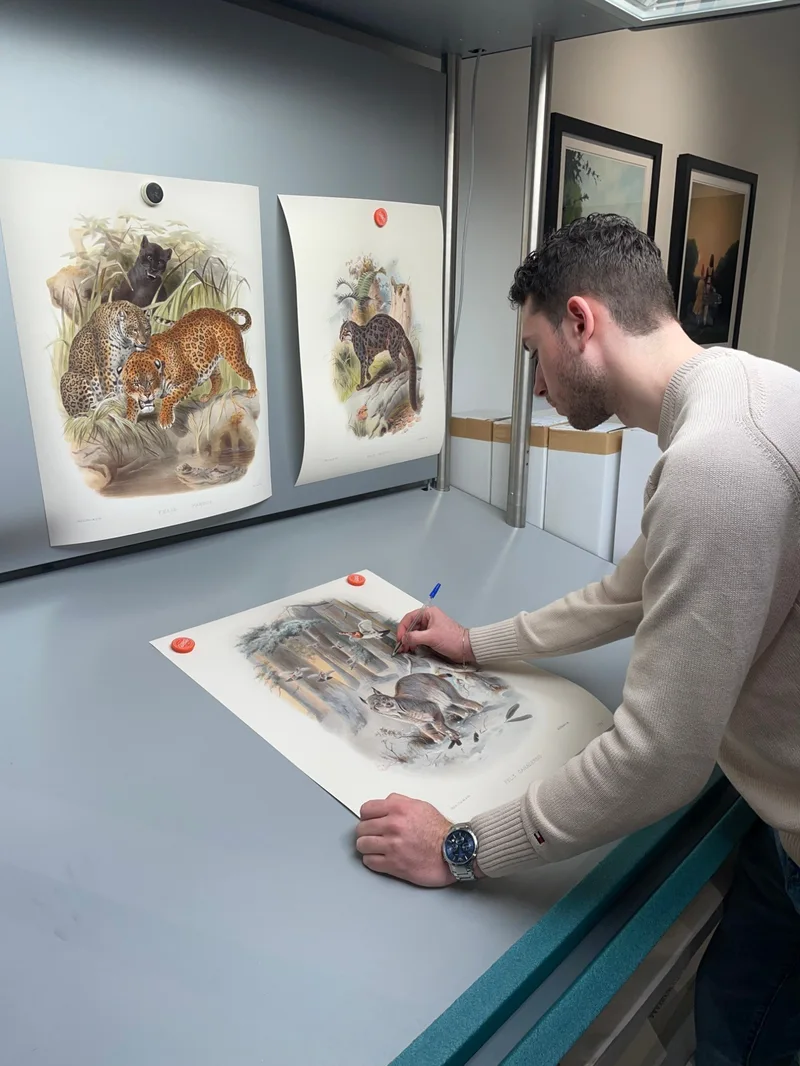
Checked once more under daylight.
The making of, on film
A short film about how our prints are made: from the original to the finished print.
The film plays on YouTube. Nothing is loaded from YouTube until you press play.
Follow us on InstagramReady to take its place
Once approved, the print is ready for your wall, your framer or a Solander box. Official supplier of the Audubon House Gallery in Key West since 2008.